AI inpainting in 2026: what it is and why the mask is disappearing
AI inpainting once meant painting a manual mask, loading a Stable Diffusion checkpoint, and coaxing pixels to behave. It worked, but it was brittle: every new object or style shift demanded a new mask, new sampler settings, and usually a new seed. In 2026, instruction-following image models change the workflow. You describe the change in plain language and the model localizes the edit for you. That’s why the classic mask is fading from everyday use.
What changed under the hood? Models like the Nano Banana family and FLUX 2 Pro align vision and language tightly. When you say “replace the red car with a blue bicycle,” the model uses attention over the image and the prompt to infer what’s “red,” what’s “car,” and where it sits in the scene. Instead of a hard binary mask, the model learns a soft spatial prior and blends the new content into lighting, shadows, and perspective. Semantic guidance replaced brushwork.
The result: faster edits, fewer artifacts, and less technical setup. You still can mask if you want, but you rarely need to. The big win is speed. Edits that took ten minutes of masking and retries now take one instruction and a couple of variations. Nexvy unifies these editing-capable models in one place, so you can swap engines without rebuilding a workflow.
This guide is your modernized version of “Stable Diffusion inpainting,” rethought for instruction-following models. AI Inpainting Explained: The Complete Guide to AI Image Editing in 2026—without masks, without a local GPU, and with concrete steps you can follow today.
The five edits you’ll use most (with step-by-step instructions)
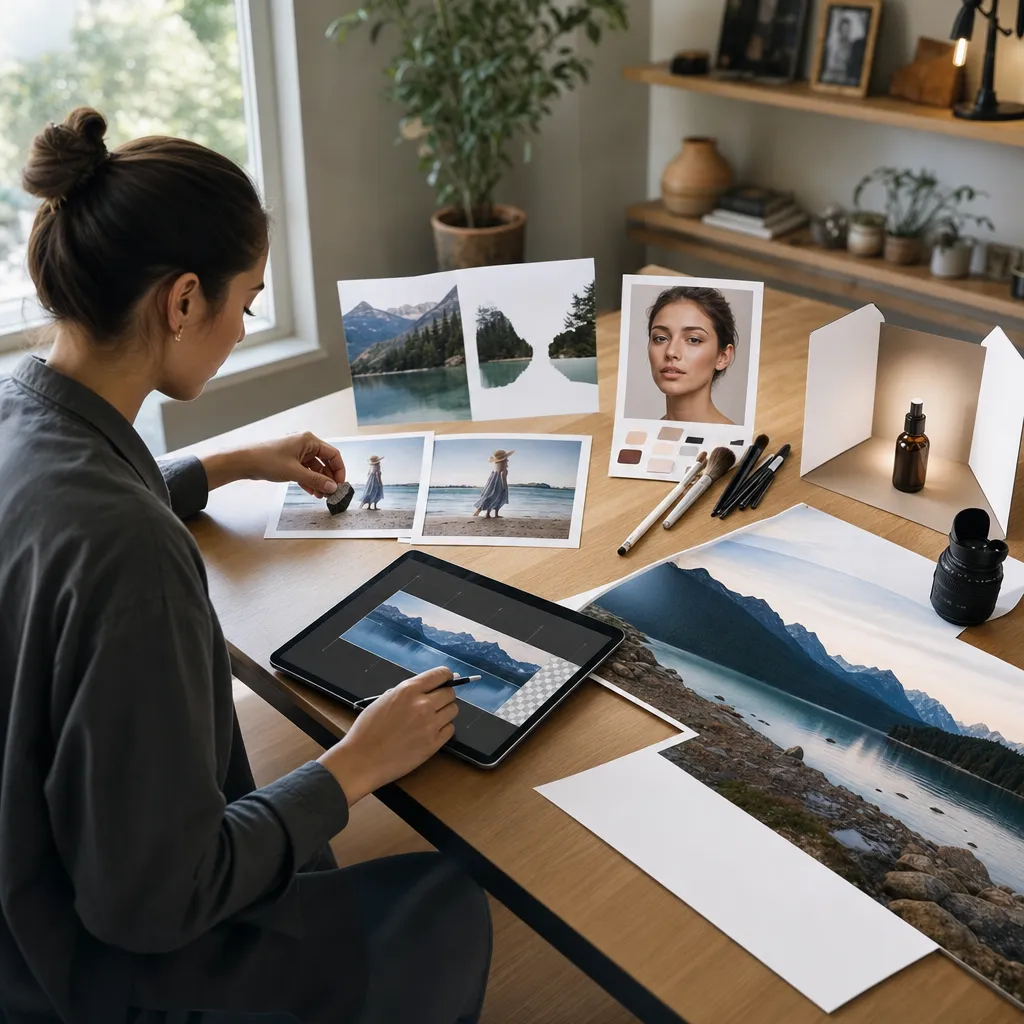
1) Replace an object
Goal: Change one subject into another while keeping composition, lighting, and camera angle consistent.
- Model: Start with Nano Banana 2. If you need maximal fidelity to the original scene, switch to Nano Banana Pro. For style-locked swaps using a reference, try FLUX 2 Pro with a reference image of the target object.
- Steps on Nexvy:
- Open Image Editing and upload your photo.
- Select the model and set a moderate creativity/strength value.
- Type a direct instruction in the edit box.
- Optionally attach a reference image (angle-matched if possible).
- Generate 2–4 variations; pick the closest; refine if needed.
- Prompt templates:
- “Replace the red car on the right with a matte blue road bicycle, same angle and lighting, keep reflections on the wet street.”
- “Swap the ceramic mug with a transparent glass tumbler, preserve hand position and shadows.”
- Tips: Anchor location with phrases like “on the right,” “closest to camera,” or “in the foreground.” Add “keep background identical” to reduce drift.
2) Remove an element (clean plates, tourists, logos)
Goal: Erase a distraction and reconstruct the background naturally.
- Model: Nano Banana (fast, 60 credits) often suffices. For tricky textures or complex architecture, try Nano Banana Pro.
- Steps on Nexvy:
- Upload image and choose the model.
- Instruction: specify what to remove and what background to hallucinate.
- Keep creativity low to prevent unintended style shifts.
- Generate; if edges look soft, run a second pass with “sharpen edges, keep pattern continuity.”
- Prompt templates:
- “Remove the person in the yellow jacket from the center; restore the brick wall pattern behind them seamlessly.”
- “Erase the brand logo on the laptop lid; fill with the same matte aluminum texture.”
- Tips: Mention what should replace the removed object (“continue the tiled floor,” “extend ocean waves”). That single line improves realism dramatically.
3) Add something new to a scene
Goal: Introduce a new object or subject that fits the scene’s physics—lighting, depth, shadows.
- Model: Nano Banana 2 for quick ideation; FLUX 2 Pro for consistent style-matching using a reference.
- Steps on Nexvy:
- Upload the base image.
- Attach a reference photo of the new object if you have one (same material, color, and angle help).
- Instruction: describe placement, scale, and interaction with light (“soft morning light from left,” “cast a short shadow to the right”).
- Generate multiple candidates; keep the one with the best perspective.
- Prompt templates:
- “Add a small potted monstera on the wooden desk near the keyboard; match the soft window light from the left; subtle leaf shadow on the desk.”
- “Place a steaming cappuccino on the empty saucer; accurate foam texture and rim highlights.”
- Tips: Perspective language matters. Say “on the far table,” “near the foreground plate,” or “midground left.” The model will localize better.
4) Change style, material, or color in one region
Goal: Retain object identity while altering surface properties, finish, or overall style.
- Model: Nano Banana Pro for the tightest identity retention; FLUX 2 Pro when you want to match a reference finish or brand color exactly.
- Steps on Nexvy:
- Upload image; choose the model.
- Instruction: specify the region and the exact finish or hue, plus keep-constraints.
- Optional: attach a reference swatch or sample product photo.
- Set lower creativity to prevent structural changes.
- Prompt templates:
- “Change the sofa fabric to dark green velvet, fine directional nap, keep cushions and folds identical.”
- “Make the car paint metallic pearl white, preserve reflections and panel gaps; wheels and background unchanged.”
- Tips: Use material words (“brushed aluminum,” “satin black,” “gloss ceramic”), and add “do not change geometry.”
5) Outpaint and extend the canvas
Goal: Expand the image beyond its borders while preserving style and scene logic.
- Model: Nano Banana 2 for speed; Nano Banana Pro when matching complex texture or architecture; FLUX 2 Pro if you’re extending while also style-matching to a specific reference collection.
- Steps on Nexvy:
- Upload the image.
- Increase canvas size or choose an outpaint preset (add margins on the side you want).
- Instruction: describe what should appear in the new space and how it continues patterns, horizon lines, or perspective.
- Generate; if the horizon or vanishing lines drift, regenerate with a line-anchoring instruction.
- Prompt templates:
- “Extend 30% to the left; continue the boardwalk and railing with consistent perspective; add two more lampposts receding into distance.”
- “Expand upward; continue cloudy sunset sky with the same color palette, soft gradients, no new objects.”
- Tips: Name the structure to continue (“brick pattern,” “coastline curve,” “city skyline”). Small textual anchors reduce seams.
Which editing model to pick on Nexvy (and when)
Nexvy brings multiple instruction-following editors under one roof so you can choose the right tool per job instead of forcing one model to do everything. Here’s a quick chooser you can apply immediately.
- Nano Banana — Fastest, cost-efficient edits (60 credits). Great for object removal, small additions, and low-risk color/material tweaks. Use when speed matters more than microscopic fidelity.
- Nano Banana 2 — Better localization and composition stability than the base model. Strong general-purpose editor for replace/add/outpaint tasks with natural lighting and fewer artifacts.
- Nano Banana Pro — Highest fidelity within the Nano Banana family. Best for style/material changes that must preserve identity, challenging object swaps, and architectural continuity.
- FLUX 2 Pro (with reference images) — Choose when you need to match a reference tightly: branded colors, specific object identity, fabric weave, product finishes, or multi-image consistency across a set.
Model pick by edit type:
- Replace object: Nano Banana 2 → Nano Banana Pro if the scene is complex; FLUX 2 Pro if you must match a specific reference object.
- Remove element: Nano Banana for speed; Nano Banana Pro for heavy textures/patterns.
- Add new object: Nano Banana 2 for balance of speed/quality; FLUX 2 Pro with reference when the new item has a fixed look.
- Style/material/color change: Nano Banana Pro for fidelity; FLUX 2 Pro + reference swatch for brand-accurate hues/finishes.
- Outpaint/extend: Nano Banana 2 for general use; Nano Banana Pro for tricky geometry; FLUX 2 Pro if extending to match a reference style library.
If you’re unsure, start with Nano Banana 2, generate quick candidates, then move to Nano Banana Pro only for the final pass where fidelity matters most.
Pro techniques for edits that look real
Chain your edits in small, reversible steps
Trying to replace, recolor, and outpaint in one shot invites drift. Split the job:
- Step 1: Clean remove (or replace) the subject.
- Step 2: Apply style or material changes.
- Step 3: Outpaint or extend canvas.
- Step 4: Run a light consistency pass (“keep composition and lighting identical; minor sharpening only”).
Short steps preserve intent and make it easy to revert only the part that failed.
Keep identity across edits
- Attach a reference image whenever object identity matters (e.g., a specific sneaker colorway or a branded bottle shape). FLUX 2 Pro is especially good here.
- Use explicit constraints: “keep proportions and label layout identical,” “do not change face geometry,” “same stitching pattern.”
- Minimize creativity/strength as you approach your final look. High creativity is for ideation; low creativity is for lock-in.
Combine a generated base with targeted edits
For concept work, generate a strong base image with your preferred model, then import that image into Nexvy’s editor for localized, instruction-driven changes. This split lets a generative model handle composition while an editing model handles precision. It’s especially effective for product mockups: generate the scene once, then run multiple color/material variations via short edit prompts.
Use an upscale-last workflow
- Work at medium resolution for speed while exploring changes.
- Lock your final composition and materials.
- Upscale as the last step so you don’t bake artifacts into a huge image. If needed, run a final micro-edit pass post-upscale to restore tiny textures (fabric weave, wood grain).
Control background drift
- Add a keep clause: “background unchanged; same lighting and camera position.”
- Use directional anchors: “sunlight entering from left at low angle,” “indoor tungsten, warm white balance.”
- If the scene keeps shifting, reduce creativity and perform the change in two passes.
Write prompts like a photographer, not a poet
- Name location and scale: “in the foreground,” “at the far table,” “roughly 20% of image width.”
- Describe physics: “soft shadow falling right,” “gloss reflections consistent with overhead lights.”
- Specify continuity: “extend horizon perfectly level,” “continue hex tile pattern with consistent grout width.”
Old-school masked inpainting: when it still matters
Manual masks aren’t dead. They’re just no longer the default. Cases where a mask still helps:
- Legal or compliance workflows: You must prove the only changed region was the logo or license plate. A mask provides a crisp audit trail.
- Tight boundaries next to sensitive detail: Jewelry over hair, complex lace over skin, or tiny UI elements. A precise mask can reduce bleed.
- Multi-pass compositing: You want to blend separately edited layers in external software with exact feathering.
The difference in 2026: most users don’t need ComfyUI graphs or local GPUs to do this. If you require pixel control, you can still provide a soft region hint or a rough mask and let the instruction-following model respect it. For everyone else, plain-language localization is faster and accurate enough—especially with Nano Banana 2 or Pro handling spatial grounding.
Troubleshooting quick fixes
- Weird hands or warped geometry after a swap: Lower creativity, add “keep pose and proportions identical,” and regenerate. If still off, perform a dedicated hands/geometry pass before styling.
- Color won’t match brand swatch: Use FLUX 2 Pro with the exact swatch as a reference image; include “exact hex #RRGGBB” in the prompt and set creativity low.
- Background keeps changing: Include “background unchanged” and “camera position locked,” then run in two shorter passes.
- Texture repeats or tiles in outpaint: Name the pattern and its scale, e.g., “continue 4-inch hex tiles with 2 mm grout.” If needed, finalize with a subtle texture pass.
- Object looks pasted on: Ask for shadows and bounce light: “soft contact shadow under the mug; specular highlight consistent with window light at left.”
Why this approach wins—today
Instruction-following inpainting reduces cognitive overhead. You describe what should change; the model finds it. The results are more stable across iterations, easier to refine, and faster to reproduce at scale. On Nexvy, you can pick the right engine for each step—Nano Banana (60 credits) for quick removals, Nano Banana 2 for everyday replacements and additions, Nano Banana Pro when the last 10% of fidelity matters, and FLUX 2 Pro when references and brand-true finishes are non-negotiable.
Edit any image with plain-language instructions on nexvy.ai. No masks required. No local GPU. Try a small change—remove a stray cable, recolor a product swatch, extend a horizon—and you’ll feel why this is the new standard for AI image editing in 2026.